Pages

Saturday, May 22, 2010

Quick Stanley #75 Rehab

I stopped at a barn sale today, the sign was for last weekend :( it didn't matter I still walked away with cool stuff, he's having another sale next week. I can't wait.

I got 4 old Jogenson handscrews and a Stanley #75 Bullnose rabbet plane, keeping with the animal theme here's a little squirrel tail (I'm making a thicker iron and integral lever cap for this) my grandmother gave me as part of my graduation gift (also got some crazy small drills and a jointer's toolbox. I'll do a write-up, don't worry.)

Here are the ground (sorry no pic yet) and masked parts ready for some poor mans japaning. The original japanning was about 85-90% but I like fresh and clean looking so... Someday, when I have a sandblast cabinet and I experiment with actual japanning, I'll refinish all these tools I've faked. But that won't be for a while.

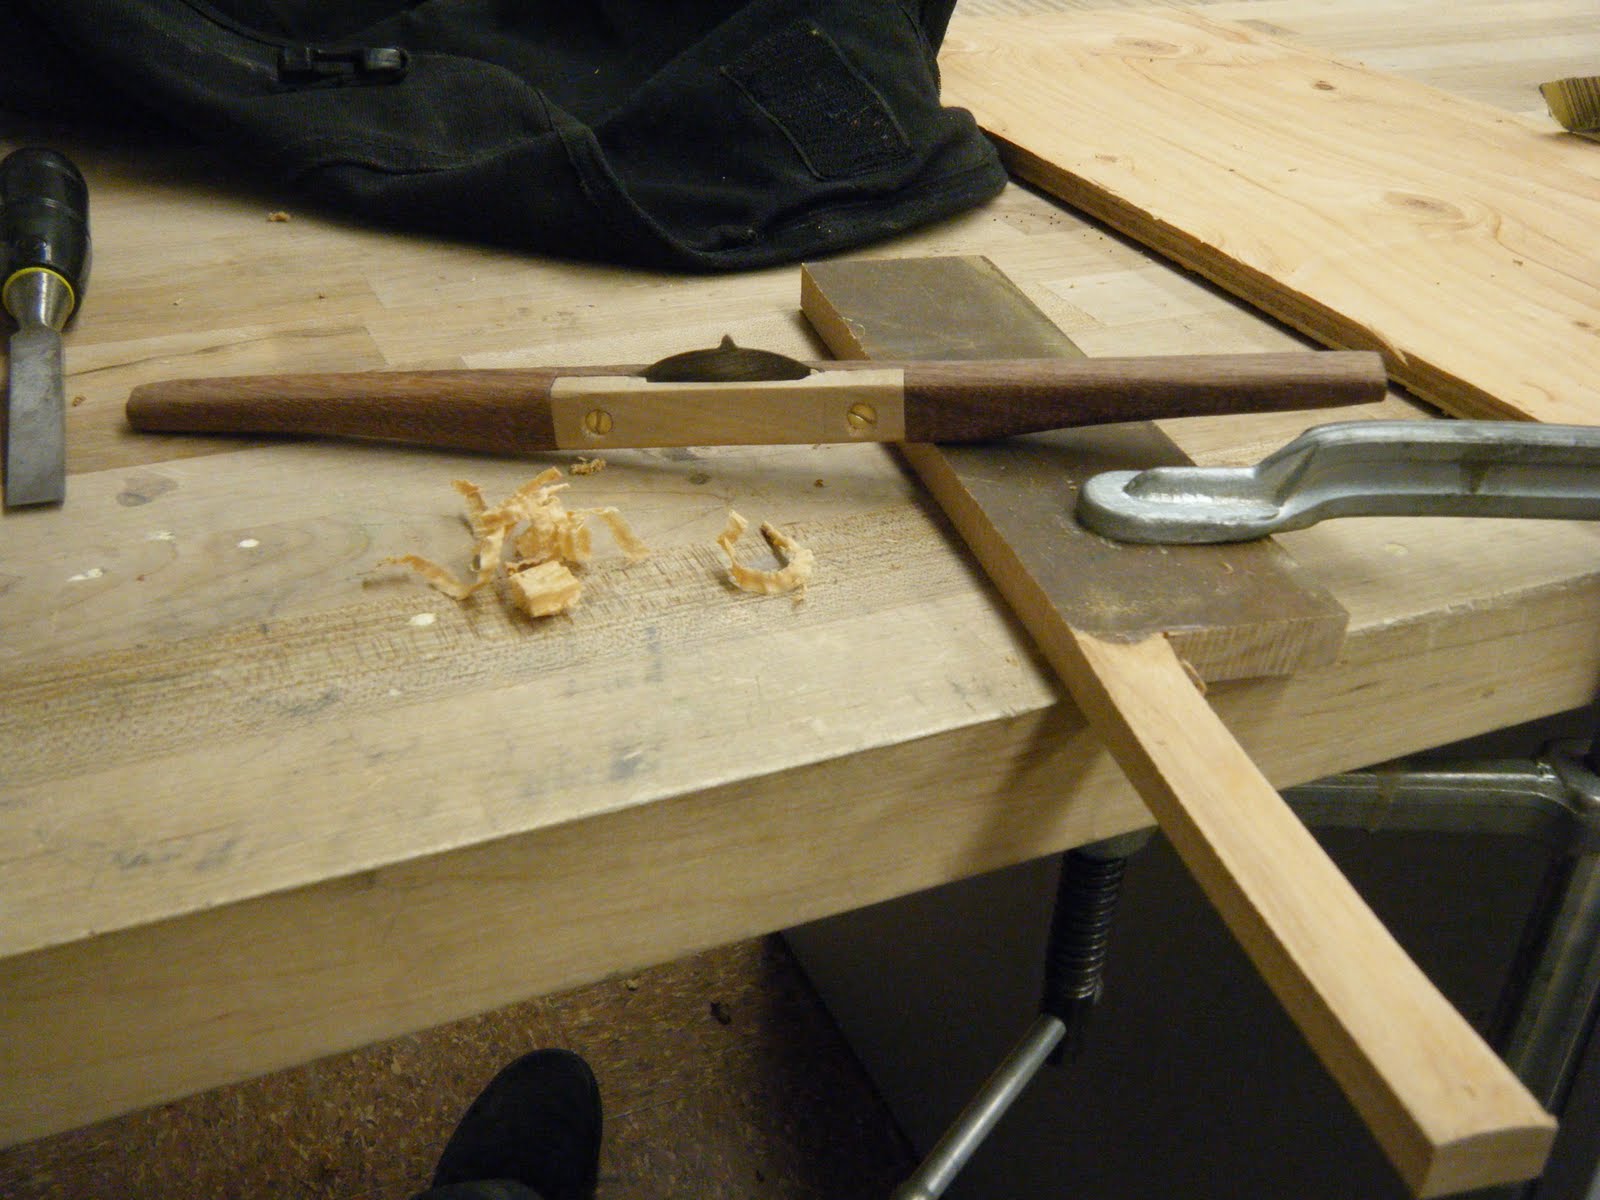
Now with paint! Yes that's a Q-tip for keeping paint out of the screw hole. It was fun, lapping the sole and sides plus painting and dressing the iron a little bit took little over an hour. It was a fun short project to do considering I have some big things ahead of me: Building a coffee table and entertainment table for my parents, building a kitchen table for a friend, about a zillion tutorial/toolmaking projects, a saw till, a plane till, selling my tiny horizontal mill after I get parts off of it for my tiny lathe, and selling my SB 9A and tooling/material/spare castings when I don't need it to rebuild the little lathe. Whew. I'm tired already

Friday, May 21, 2010

Bench Chopping Block


I've made this chopping block to protect my (future) workbench, because right now it is prettier than the particle board workbench we have now. It's a 3/4" maple plywood board laminated to a little longer 3/4" MDF board and a maple block glued in for chopping or paring operations that could use a stop.


Like this, paring part of the wedge for the Mini Plane, I used liquid hide glue with the "rubbed joint" method and no clamps. I really like the hide glue, I've talked about it with some full time production furniture makers and he hates the stuff, I wasn't sure but gave it a shot. I like it, I guess it's the weird-archaic-old-schoolness of hide glue that gets me. That and you can take it apart.

Mini Plane-Shaping, Iron and Wedge


Cutting the 1/8" 1095 steel plate to size. I buy it in 8"x 12" sheets I cut the one down to manageable strips before I left school. After this I file the edges square and fit it to the plane body. I also lap the back.


I've got candles on my workbench, I use them to light blowtorches etc. I blackened the back of the iron and set it in the body, set the wedge. Now I can see exactly where I need to remove material. It's a little slow going, and I have some more to do. The bottom shows what it looks like after the first markup.


Here I'm profiling the wedge into something a little more comfortable. just done with a chisel, I like the look, and keep Krenov's words about how it should just be comfortable in mind as I pare.


Here we are, all that's left is to grind the bevel on the iron and harden it. Then some fettleing and wax and we're done.

Wednesday, May 12, 2010

In Love

So capturing my love of metal and tools for working wood. I've stumbled upon some amazing Preston Bullnose Rabbet Planes...I want to make copies, badly. Adding another thing to my list of tools and things to do. It's ceaseless.


I also really love this Record #076 I think brass? reproductions are in order, time to track down someone willing to make castings/water jet components.

Saturday, May 8, 2010

"Planing"

Okay so I really am planing, but just for practice. I reclaimed this 2x10 from some engineers down the hall attempting to make a ?!?!!? something or 'nother... Anyways it had some cupping so I took my jack (#5, jeff) to it.
So I know I have about a zillion things wrong here... table too low, too much overhang on the bench hook (I'm supporting the board with my knee for full length cuts) but I got a reasonably flat surface given the lack of actual woodworking space. By the way I'm in our school studio. The shop is closed for the semester and I'm waiting for paint to dry.
Part of the infatuation (compulsion?) is with the character of the shavings, they vary depending on the skew depth and grain it's amazing to watch. I've gotten much better at setting and changing the blade height and lateral adjustment. On this board I see the benefit of a chambered/edges-knocked-off iron, I've got little corners in my step-overs.
Action shot, thanks to my girlfriend for the photos, (she even wanted to plane some) :)

Lastly, one of the artistic shots of the shavings my girl started taking, I like them, I think one will become my backdrop.

Sunday, May 2, 2010

Gunstock Scraper

I finished and tuned my gunstock scraper today, made of Cocobolo and Maple with brass screws. The blade is made from an old craftsman saw.

Saturday, May 1, 2010

Tools I've Made


This isn't everything, but it's a good assortment of what I've made/like to make. I have part of a large frame saw (for resawing) for me, a walnut bow saw for coping blades for a friend, a marking gauge, a beader with two fences, a small cheek saw (for planes) in the works, a hand countersink, spare handle, and two chisels I forged out of concrete nails and finally a panel saw that I cut down to carry in my knapsack to class.


Here's a shot of the spare handle, I think I'm going to forge a few single bevel skew chisels and handle them with these. I have about 18 more blanks ready to be planed like this (I'll cover that in another article). The maple is from some cut up science lab table that found it's way into the shop. I was inspired by the Swiss Made chisels I saw at Woodcraft. The countersink in the background is just a regular straight shank 6-flute job you find in any hardware store. the handle is spalted maple from the firewood pile turned on a pole lathe.

Detail of one of the chisels, I like forging little tools out of concrete nails, they are high carbon and easy to heat treat. Because they are so small I forge on my tiny anvil (railroad track) and work with about 5 at a time. 15 minutes can leave me with about 7-10 blanks.

The last two shots are joints on the framesaw. The top is how the arms attach to the handle the bottom is how the blade block attaches to the handle.