Here follows the next phase of the Pembroke Table class at the
Philadelphia Furniture Workshop. It's been a long 7 weeks so far, I'm itching to get this thing home, but really enjoyable. I get to leave a day of teaching to practice the craft and get taught myself. It's a nice change of pace, not being the one everyone looks to for an answer like my day job can be.

Fairing out the curves on the leaf support with a rasp, a card scraper followed and removed the tool marks.

Alan's fixture for sanding the finger pulls, I think it would have been fun(er) to carve them with a gouge, but I've been catching enough hand-tool flack from some of the class that I'll make this exception.

I forget what I was telling Mario at this point, but I'm sure it was really important.

Aside from being a cool shot of hands, this is an important step for me. I'm going to cut the dadoes by hand, in this step I'm measuring the range of motion the corner of the leaf moves about. This is so I can make the dado deep enough so as not to bind.

Cutting the dado sidewalls with a gorgeous old backsaw.

What a nice reveal? The three knuckle hinge board is not the right one though, the grain doesn't match.

Well it opens, and it stops at 90 degrees to the apron. How sexy is that?

Action planing.

I'm sighting down the apron to see if the leaf support sticks out proud of the sides, it does a little bit, I think the inside of the hinge needs to be relieved a plane stroke or two.

The finished sides awaiting the next step. That's the wonderful #604C with a Hock iron I used to do my smoothing. I love this plane, it's fantastic.

Yeah, I got oak. What's it to you? This board has some of the last pieces I need for the bed build. I did some color sampling today, I'll post tomorrow about that, glorious fun those W.D. Lockwood dyes.

 I'm also very pleased with the color.


 Yeah, I got oak. What's it to you? This board has some of the last pieces I need for the bed build. I did some color sampling today, I'll post tomorrow about that, glorious fun those W.D. Lockwood dyes.

 If I was an "ar-tiste" I'd call this Transformation of a Riven Peg. I'm not, so this is the steps in making really strong pegs for drawboring. On an artsy note I really like how the Swiss Army Knife came out it's color and wear.
 And the plate used to rive the pegstock. it's a piece of 5/16 mild steel with a 3/16" 1/4" 5/16" 3/8" and 7/16" diameter holes. It can't be hardened, because it's mild steel (insert drivel about chemistry) but that's no matter. It's attached to a chunk of D.Fir 4x4 with 5/8 holes bored under the cutting holes.
  A mockup of the bed, I've still got work to do before I drawbore the short sides together, namely breaking the edges, smoothing and dying the parts.
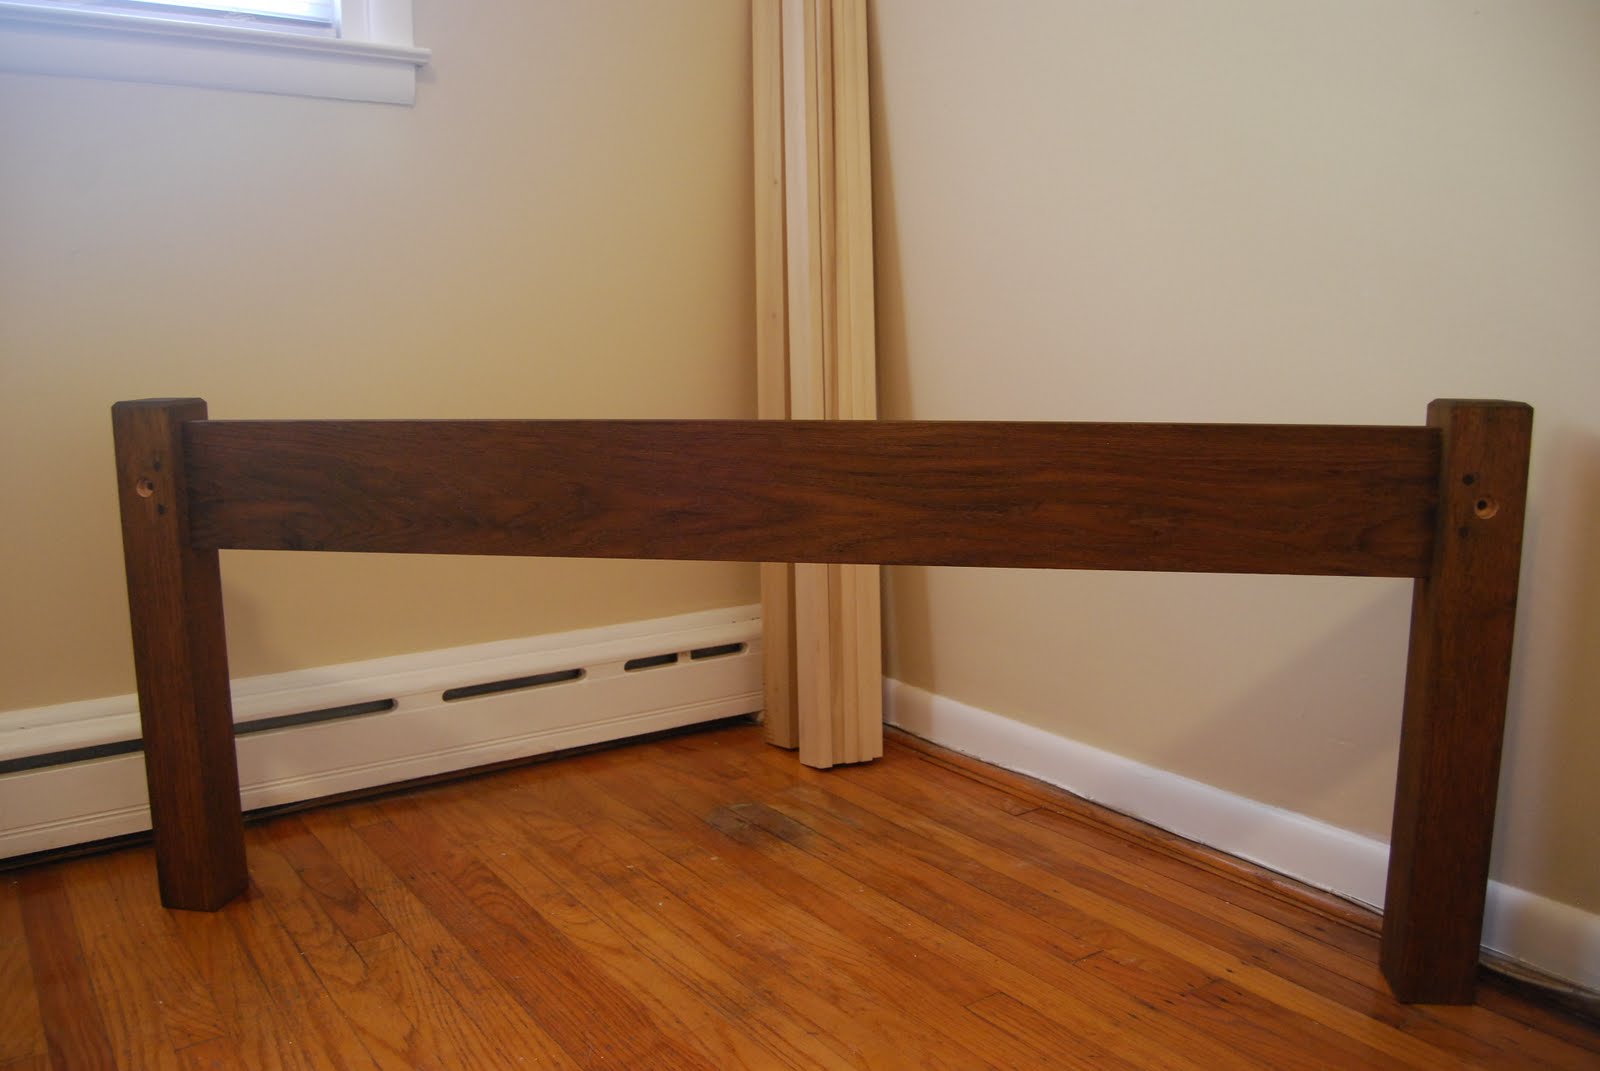
 All packed up and ready to take home. Good thing this project is almost over, I've been tiring of carrying one stick of lumber into and out of my apartment for the last few weekends. After moving the lumber for the workbench two or three more times I'll be ecstatic to work on smaller items like the molding planes and kumiko.


 A closeup of the baseline pairing. Mahogany works very sweetly.


 Thanks Mario, for taking pictures again, interestingly enough he's got a bunch of experience shooting work as well as tools, it clearly shows.

 This is a shot of the tool corner of the room, which is also project lumber storage for three different pieces so far. Tomorrow I'm going to the LN event, I'll also be picking up bed oak, so add another project to the list.


 One guy in the class (with whom I banter about the judicial use of electrons with) brought a lovely (well looks lovely) LN #212 scraper plane with him. He couldn't get it to work, after some fussing and lack of regard to "the instructions" Mario got it singing pretty sweetly on a piece of gnarly Sapelle.
 Drawing in the intersection lines for the spurs, the router leaves a 3/8" radius that will be carved into a sharp corner.


 Here we are after about 12 hours of work, not bad. The surface is pretty good, sanded to 320, though there is a spot where an errant glue drop or chip dented the surface. I might try steaming it out. I've seen that done with good success.