Pages

Saturday, December 31, 2011

Workbench Updates

Here's a quick update to the bench build, as you can see I've got my end vise chop installed and dogs made. I agonized over spending holiday money on nice brass dogs or other tools, in the end I went with wood dogs and spent that $40 on other goodies which should be arriving soon.


To keep my organizing going I built a quick and dirty chisel rack and installed a french cleat for more storage bits as I get time, I think a small chest of sorts will go on the cleat providing two or three little cubbies, two thin drawers and a shelf for finishing or sharpening things to live.

Monday, December 26, 2011

Secret Project Revealed

Now that Christmas has come and gone, I can reveal this project I've been working on so vigorously. It's a backgammon set for my parents, inspired largely by the board built by Jameel Abraham. Here is the finished board.


Sometime soon I'll be starting another one for myself, but I've got a few things to finish before that happens.

Monday, December 19, 2011

Secret Project

So I couldn't resist posting a bit about the secret project, I don't think I'm in danger of giving it away though as I'm only giving the outside shot...

This is half, by the way. Any guesses yet?

Monday, December 12, 2011

Six Planes

Three pairs of planes to be exact. #2, #4 and #8 Hollow and rounds, in beech. I'm rounding out a short set of H&Rs 2-12 evens. I have a nice pair of #6s and #12s and a few odd larger sizes, I have some cherry blanks for #10s but I'm on the fence about those.

Here they all are... after making a template for sawing the throats, I couldn't wait to start. I sawed the 8R and made two wedges then migrated back to my other super secret project. The #4s are from the same blank and have gorgeous ray fleck. I have to make a few more floats and finish my 1/10th chisel before I get too much farther on these.

This air dried beech is fantastic. I love how it works.

Monday, December 5, 2011

Secrets, Secrets are No Fun, Except...

When without them, you'd spoil a great surprise. So this post will be light on the details, I'm keeping it vague because the future recipient has been known to frequent this blog on occasion.

Now that that's over with, here is some of the progress on a new project, I know there are other projects currently unfinished, but I'm working on it. There is only so much a guy can do with that pesky full time job getting in the way all week. This is to be a hammer veneered, well "thing" since we're being vague.

First up is the French pattern veneer saw I built using some scrap beech and old sawplate. it's filed with the 15/60-60 tooth configuration that Gramercy Tools has on their veneer saw. I'm sort of amazed at how quickly and cleanly it cuts.


Here is my sawing station to cut wedges of padauk veneer. The thick wedge in the foreground is a template to guide the saw, the walnut is a straightedge and the board there is just trash to keep from cutting into the bench top.

All of my veneer is from Certainly Wood, which was a wonderful and painless way to by the small amounts I needed for this project. I spent about a half hour on the phone with the guy talking about my project and what to look out for, and talking about the pros of different cuts and my species selection.


A stack of wedges and the Veritas Apron plane I love, and use to shoot the edges of the parent sheet before I saw off the individual wedges.

The last photo is a sample I did to test the methods I was reading about. It is a piece of rift pine, cross banded in poplar then veneered with holly and padauk with a taped joint. I goofed and tried planing it when it was dry, the padauk tore out hideously on the reverse side. It actually ripped up a whole chunk, which frustrates me, this was going to be a wonderful little sample. Oh well.

Wednesday, November 30, 2011

Sharing a File

Tom Figden posted a really cool toolbox from a guy at LumberJocks on his blog. I thought the joinery ware really cool so I decided to model it and post photos here. I can't figure out how to host something like a SketchUp file that you could download and view on your own, but if you know how let me know, because I think that would be a good thing to be able to do here.


Sunday, November 27, 2011

Well, It Works

It's just about finished, I just have to install a face vise, add chops and dogs, and nail a tool rack on the back. I've got the rack made up I just need some big honkin' wrought nails to make it look right.


Boring the waste out for the top/leg joints. There are five 1" diameter holes drilled 2" deep for each of four tenons. My 1" bit takes 40 turns to get to a little over 2". For those of you who aren't so handy with the math, that's 800 turns of the brace for the 4 morti. Don't get me started on the dog holes.

I also did a bit of rearranging, there is loads more space in the work room now. Even more space will show itself when I build a lumber rack next weekend. The wood under the bench needs to go.


And another one cleaned of tools.

Friday, November 25, 2011

Momentum

Due to the Tool Chest, Pembroke Table, odds and ends and jigs I've been working wood almost every waking hour that I've not been at work for the last three weeks. Today I made major headway on the workbench, it's now something to look at.

The bench is made completely of reclaimed Radiata Pine and measures 21" wide by 60" long. The top is 3" thick and will sit about 34" off the floor. I quickly decided to add 2" to the legs this morning so that I could be sure that I didn't go to small on the height. I may have to cut the legs down at a later date to make planing easier, or I may add a carpet to the floor in front of the bench for comfort. I don't know how that will effect the fit.


The plane in the photos is a #7, next week's project is going to be a wall mounted lumber rack, maybe I'll also get to some tool storage that way I can clean up the shop and get ready for the real projects.

Sunday, November 20, 2011

Tool Chest Part 2: Drawers

This is how I began my Saturday at around 8:30AM. There is much to be done today. The major task is to build the drawers. Poplar should be nice to work with, but these are the first half blind dovetails I've cut since I first learned how, and my very first time building a drawer. Should be fun right?


I started by patching a gap that opened up in the front, right of the bottom board. Here the glue is setting and I'm trimming the patch flush.


I've modified Mario's original plan, by doing bracket feet on all corners. The plain ogee shape was replaced with what I think would be called a cove-fillet-bead in some naming traditions.


Though it looks like I'm hiding. I'm actually aligning the spacer blocks to ensure the till bottom seats level with the case.

Taking a very accurate measurement for the drawer front, these need to be tight to begin with, so sizing them correctly in the beginning is important.

Careful measuring paid off, the fronts fit nicely and the presence of the chest looks great to me. I'm really into the oval pulls which I'll write about in a separate post.

After the fronts have been set into the case, the next step is to orient the grain direction on the sides then mark and trim them to fit their respective openings. The plane here is a Stanley Bailey #4, I just had it surface ground by Tablesaw Tom, and I'm amazed. It looks, and functions like a NIB premium plane. Now I need to spend some time rehabbing the wood and fasteners on it. Give Tom a look, his prices are reasonable and his work is top notch.


Mario is a huge fan of dovetail templates, they certainly have appeal, but I'm still unsure if I like the method for everything. I'm using his here to mark out the side material so that I can gang saw the tails for the drawers. I'll get the work done faster this way, and the dovetails will be identical for both drawers. Two big pluses in my book.

There's that Veritas Gent's Saw again, the fine teeth has some trouble in the 1 1/4" of drawer stock, I should have used a carcass saw instead.

Fret sawing the waste.

After gang sawing the front and back tails (didn't I mention these were to be fully dovetailed drawers?) the sides are put into their respective openings. I still managed to mess one up forcing me to ditch that side and re-cut a new one.

Setup for pairing the baselines, the drawer sides are 5/16" thick and measure 2 5/8" wide.

Pairing the baselines with a James Swan 1/8" (possibly sash mortise chisel) it is very finely ground and very sharp. It's my favorite piece of steel in all of PFW, they will not part with it though. I tried, so if you've got one message me. This thing falls through the little bit of poplar remaining in the tails.

Marked out for the half blind pins.

That looks like a drawer doesn't it? I was very proud at this point. I had a few fit just off the saw too. I'm hooked on drawer making, it's a little fussy but really rewarding.


The next few shots are of the disassembled drawer, just prior to gluing.


I finished the first drawer at around 5:30pm or so. I finished the second drawer at about 8pm and then banged out this little sliding tray for one of the drawers. What a long day, but I can honestly say I feel really accomplished. I'm very inspired to work right now, resisting the urge to keep working was hard. The voice in the back of my head said "You finished the task you set out to this morning, go home and don't risk screwing anything up." I've never worked a 12 hour day on such work before, but it wasn't arduous at all, I loved it.

Monday, November 14, 2011

Arts and Crafts Tool Chest

If you're on dial-up, I'm sorry. This holds the record for my most picture laden post ever. I started a tool chest class at the furniture workshop last weekend. I've been acquiring some really nice tools and really needed something better than this wine box to store them. I've got one chest from my grandmother already, and I plan on racking a bunch of my tools in the new space. This chest just seemed too sexy of an option to hold some of my prized tools though.


We drew wood sets out of a hat, I had helped Alan pick and mill wood for these earlier in the week, I was delighted to find that my number won the set I'd been lusting after, with some dark brown stripes, cream and wormholes. What a good start!

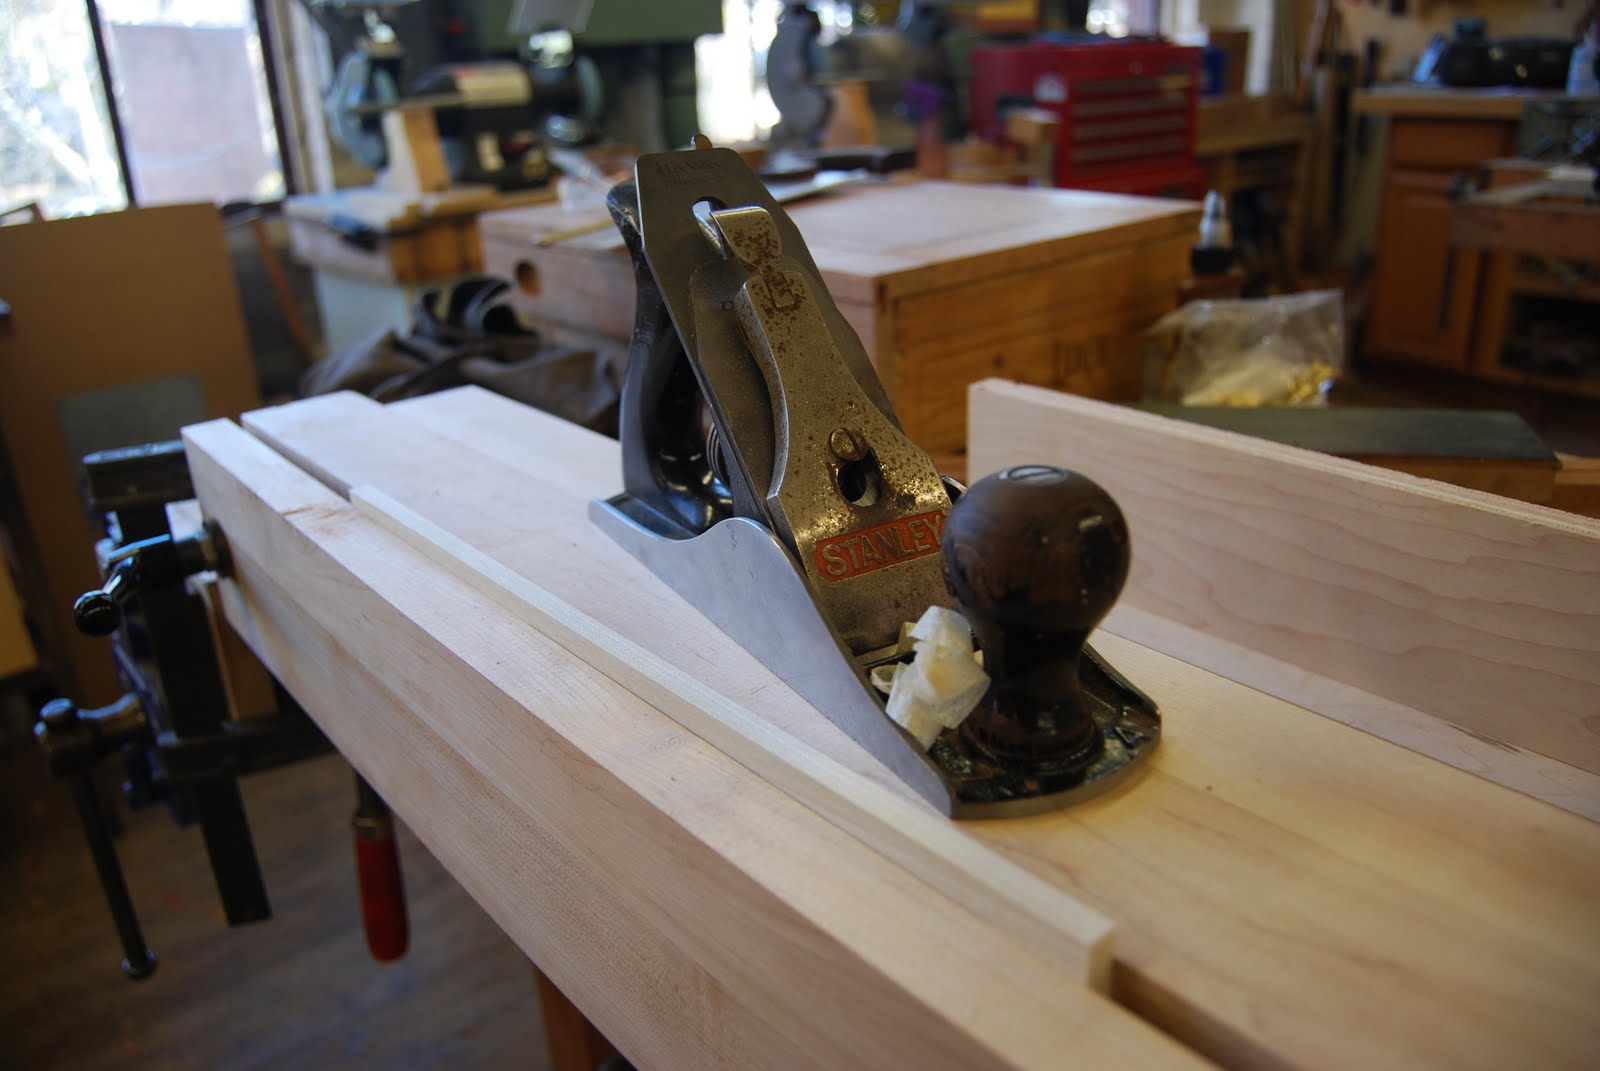
This is the layout of the case, the sides, face, lid front, and drawers have been taken out of the same board sequentially. Milling is an exercise in cautious work, but it pays off.

Dilly-dallying trying to read some really worn marks. Okay back to work.

Dovetailing. This saw should look familiar, this was a breezy job compared to the blanket chest.


After sawing the tails, a fret saw knocks out the bulk of the waste. Note the twist in the blade, to allow the frame to clear the stock, the "back" end of the blade is twisted slightly (very slightly) more. This is so the blade will never dive under the baseline on the back side where I can not see. I've never undercut a baseline with the fretsaw by doing this. and I've started cutting it very close at times.

After the bulk is out paring commences, here the corner of the chisel is used to flick away material down to the scribe line, leaving a shelf for the chisel back to rest upon whilst paring.

Same thing for the front.


All of the tails have been cut, and I've started on the pins. This was the end of the first day.

Baseline pairing for the pins, there's a lot more room to see which is nice, it's a good contrast to the tighter confines between the tails.

After a test fit, some tweaking of the pins was needed. I'm borrowing Mario's Grobet detail file, which I like a lot. It cuts beautifully, and is perfect for fitting these parts. Weird grain direction can cause a chisel to dive or tearout the small amount of material needed to be removed for a good fit. While I'm mentioning files, Alan let me use his 7" Auriou modelers rasp... I want one. it's amazing, and the cut is so smooth. More penny saving I guess.
Smack them home.

Tight, mostly. I'm very happy for this being my third (second major) dovetail project. I can't wait to get my bench finished so I can do more of this.

Sexy hardware. These are Brusso knife hinges for the lid. My students laugh or giggle when I talk about hardware or details being sexy, they just don't know. Many of them just don't understand my Daed Toolworks desktop backgrounds, I can't figure that one out.

Part of the handwork involved with fitting the hinges. I really enjoy fitting hardware.
How's that? I will want to replace these with flat head screws. I'll dig through my hardware boxes and see if I have some.

A fellow student supervises as Alan leads a CA repair to a small crack in the tail due to tight joints and some over-eager smacking. Moisture expansion didn't help.


It came out pretty well I think. I get some crap for sticking with hide glue blindly. But I've really taken to heart what some people like Stephen Shepard have said about hide glue and furniture. I try to avoid it at all costs, even if it makes me an old timer (hoping it does).

We met last Wednesday night to do some more work, but I don't have pictures of that, I'll have another update this weekend when we complete the build. I'm excited to share a set of jigs I built specifically to make nice recessed pulls in the lid and drawers. So don't go far.