Pages

Tuesday, October 29, 2013

Swedish Spoon Carving

Last weekend, I finally got my hands on some paper birch to carve into spoons. I'd been struggling with my occasional spoon carving efforts chalking up my problems to not grasping technique or quite the right tools. As it turns out half my problem was attempting to make dry wood serve my purpose.

I have a small dream to live on a tiny homestead with a girl, raise rabbits, chickens, maybe a pig or dairy goats and lots of food crops. Chopping wood, baking bread and carving bowls and spoons. This week I've been making huge progress on the spoon carving, I've had in axe in my hand or been carving on my lunch breaks and sometimes for a few hours in the evening after work. I'll show my progress sequentially...


Everything together, tools and the spoons I've carved so far. They are in order from left to right. The last four are ones I feel best about. I'll test paints and practice carving details on the first two trashy ones. 


 Here's a shot of the bowl on the third (and beginning of the better looking spoons), it needs a little refinement but I'm starting to get happy here.


 Here is the beginning of the 5th scoop, for serving. The tape on my thumb is to give it a break from all the pressure against the blade and blank. I don't have a callous here yet and I wore through my finger with a few days of heavy carving.


 Here's the underside or keel of that same scoop. It has nicer lines and is more left/right symmetrical than my earlier attempts. I find the hardest thing about spoons to be getting symmetrical geometry without being ambidextrous. With grain and hand motions some cuts have to be done differently one side to the other. I'm getting better though.


 The wide bevels on this flow from the bowl, to the handle. Refinement is necessary after it dries up a bit.


This is the first one I've planned out some carving and painting for. I have an idea of what I'm going to do here, but need to draw some more.

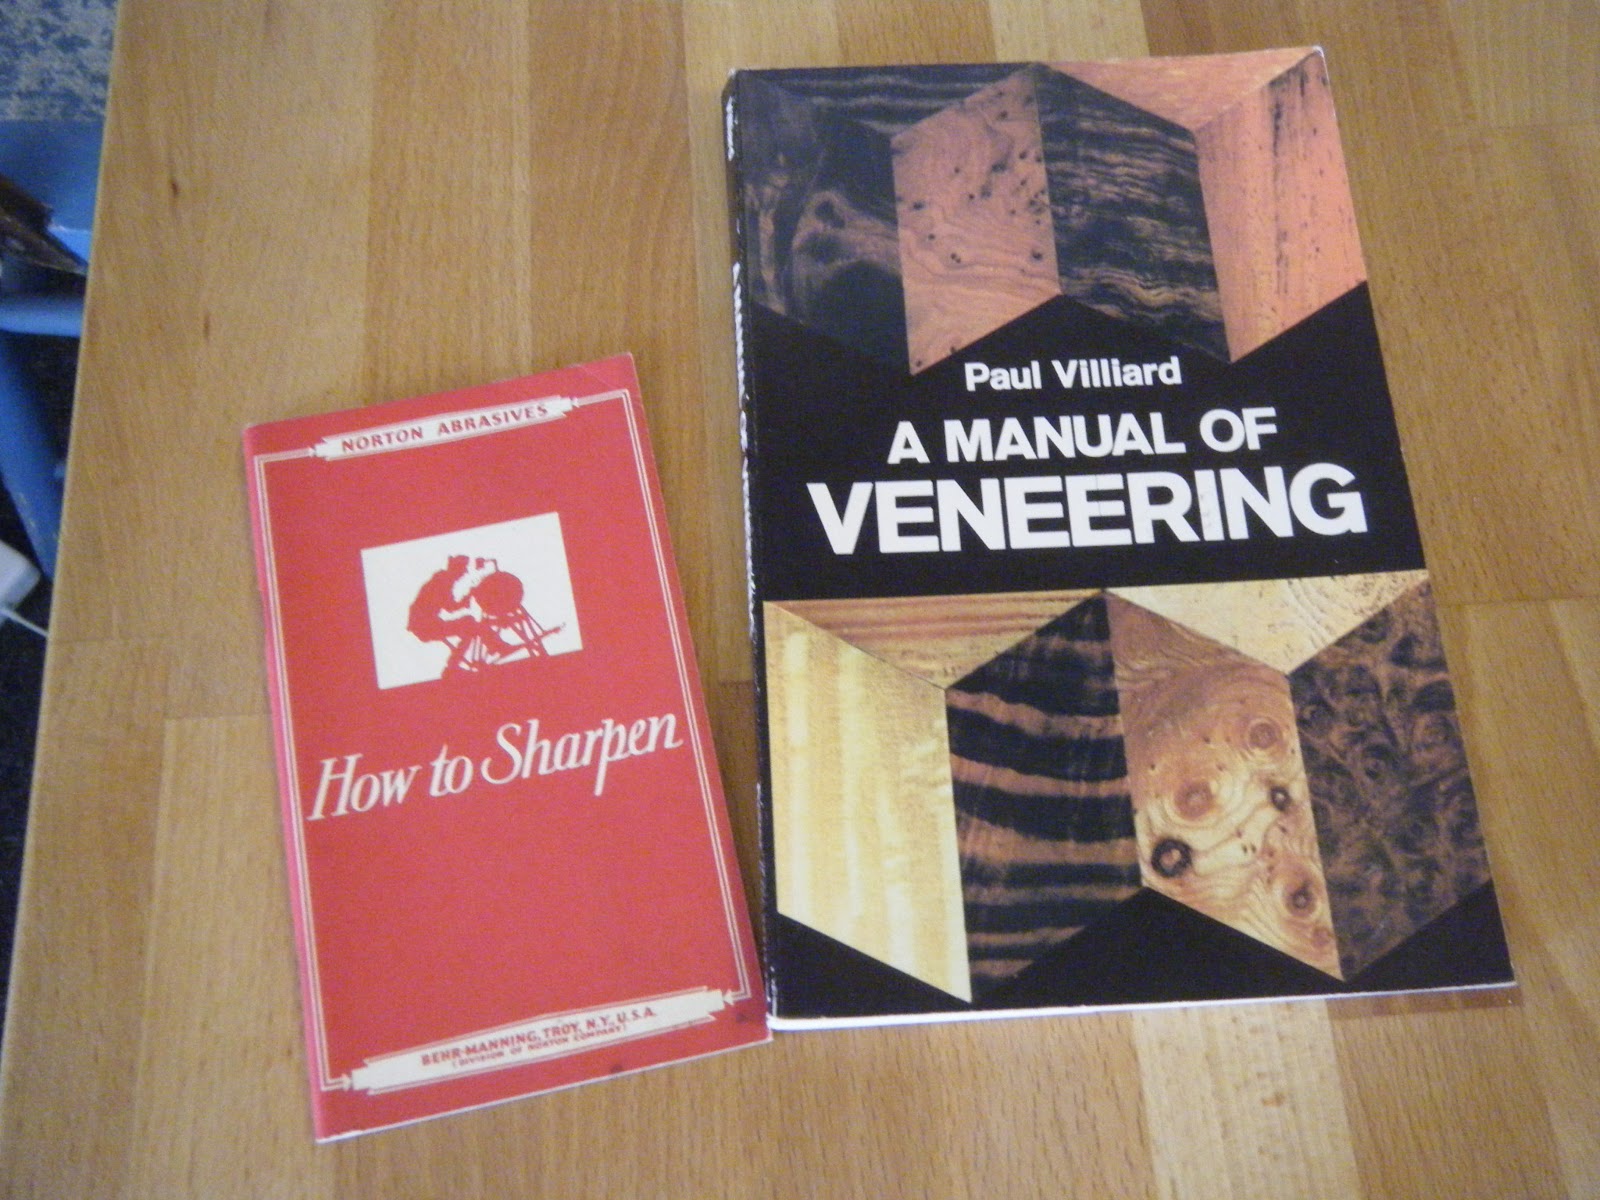
There are a few people I've been reading about, looking at spoon images or conversing with that have been a huge inspiration. I've got Jogge's video, two wonderful spoons from Jarrod (and a lot of inspiring spoon porn), and a wealth of info, tutorial, history and craft lecture from Robin Wood, Barn the Spoon also has a ton of videos that I've found helpful and a living I find really admirable. I wish there were such a thing as a peddler's license in the US.

There's only a few spoons left in the wood I've got left over, I'll have to find a source for some more green birch, beech, apple or sycamore. Many trees have been taken down on campus but they are ring porous. 

Friday, June 14, 2013

Building a Tiny Home

...Well sort of. This is a model of a Tumbleweed Tiny House that I'm working on. It's a really exciting project for me, I get to bust out all the cool skills I don't normally use building furniture, 3D printing, laser engraving and working really small.

Naturally I started with the foundation.

 I couldn't find balsa wood in the correct scale for dimensional lumber or the size of the structural steel for the trailer (which I've made out of wood) so I milled my own.


The wheels themselves are laser cut, the wheel wells are 3D printed from a CAD model I created. I may wind up building a fleet of these things so having the ability to hit the button on a few dozen highly complicated parts makes my life a lot easier. 


The trailer is built faithfully to the new Tumbleweed trailer, and as many of the construction details as possible will go into this model. The goal is a cutaway/breakaway model that can show all the elements of construction from trailer, insulation, subfloor, framing, sheathing, utilities, electric, roofing, windows and entry... Even the kitchen sink, which I'm entertaining the idea of producing molds to stamp small aluminum sinks. To answer further questions, yes, I'm going over the top with this.


Our scale, this is one of the building boards I'm using as "full scale" plans, it includes trailer plan view and wall framing elevation, and a ruler down to one inch increments that is 20' long for layout of material.


Pile of 2x4s freshly sawn from spruce. 


The first group of studs for the long wall, match planed to identical length. 

 Lastly, an overhead view of the workspace, pile of lumber, the laser engraved builder board and some of the tools I'm using.


Monday, April 29, 2013

Not Dead, Working on the Dutch Chest

Just a small post, no I'm not dead. I've been tackling some commissions of non woodworking related projects and buried under some tasks at work. A lot of that is over with the end of the semester, and I'm getting on to some interesting work now.

I cleared out a lot of the tools I wasn't using, and have gone back to basics in a lot of ways. I've started cutting wood for the Dutch tool chest, and begun the dovetailing, I also tuned up my 3/4" dado plane and it's working sweetly. Here is the progress from the last two evenings...


Here is the first side of the Dutch chest set out and dovetailed. I've been trying to find more nice clear 1x12s at the borg but none as nice as these so far. My cutlist for the chimney cupboard from the recent issue of PWM needs about 3 times the wood of this project. So I started here. 


I never tire of this shot, for those of you that follow the blog this row of dovetails ready to be cut will look familiar.


The first dado is done, this is for the division between the till and lower compartment. I am thinking about putting a drawer in here. perhaps for all the marking and layout tools.

Tomorrow I plan to run the other dado, and cut the pins on the bottom.

Tuesday, January 29, 2013

Remember When I Said I Didn't Want To Get Into Inlay?

For many of you I think you'll understand firsthand exactly the way this plot unfolds. In woodworking we tend to have certain interests that further narrow the field. Maybe it's marquetry or veneering, a particular family of joints, turning, a style like Federal or Chippendale. Also for many of us, I think there are concentrations we just aren't interested in.

For me that was inlay and marquetry, most of what I saw and connected to the two was Federal styled furniture. I don't like Federal at all, it's too flashy and adorned. The applied crotch mahogany reminds me of phenolic laminate added to something to make it look like something else. I understand there is a whole lot of skill and detail in making the bandings and paterae, Steve Latta's technical skill is really fascinating. I just don't want anything to do with it.

Fast forward to now, and after becoming hooked on the notion of Pennsylvania spice chests, I need to do some inlay. Not just that the piece calls for it, but now I see the value of holly strung around a walnut board.

To that end I was really excited when LV introduced their inlay tools, I asked some questions in a thread on SMC and after some communication ordered some tools. Here's what I've come up with so far.


Holly design in Mahogany. I got antsy and dove in. This means I didn't glue little sacrificial blocks to the surface where I intended to put the center of the arc. I have some little dents and digs where eager manipulation of the cutter caused the center point to shift and a new (read incorrect) arc was produced. Still most of it came out great. I've learned that slow lighter cuts with enough scoring between hogging makes the best cuts. I ordered the .025" thick blade which fits 1/40th veneer exactly. I used hide glue to adhere and finished by scraping and sanding. I still have to make little telescoping tube drills so that I can cut out little "berries" and install them at the vertices of some of the piece.

As soon as I can load Illustrator onto my home laptop I'll start drawing out patterns and ideas for my spice cabinet. Stay tuned!

Galootaclause Gift To Me

I've been dreadfully late posting this series of photos. These are the things that my anonymous-blog-reading-neanderfriend sent to me for the holidays.


First the tools, one is a nice old 5/12 Marples gouge. This one fits in really well with the lettercarving tools I've not yet picked up. While some look at this as one less tool to buy, it's one more tool I don't have to buy so I can spend that savings on a different other tool :). Above it is a veneer hammer (yes, I still have yet to handle the one I started an eon ago, but I know exactly where it is). It's Claro Walnut, with a yardboxwood handle shaped from a branch, ebony wedge and brass fittings.


Another shot from the front. It's nicely made, the head is heavy and I can see the advantage the heavy heat-sucking brass will have in veneering. The handle is anything but regular in radial section, the mortise must have been fun to fit! 


 Two books, one on veneering which is supposed to be quite technical, I haven't read through it yet, so I'm interested to see what's in there. The second is an adorable format Norton book on sharpening. This is another great one as I've been looking for something to make sense out of the oilstones and slips I've gotten for moulding planes and gouges.


Finally, and I was told to wait on this, we have the prize of the parcel I think. Two bookmatched shop sawn pieces of curly ash. The chatoyance is a spectacle. I've tried, with marginal success to display this in the sun. It's stunning stuff. The kind of wood that sits on your self for ages until you find just the right thing to use it on. I'm open to suggestions as I have no idea at the moment.  

There was also a letter explaining all the different items, and strict instructions on what to open, in what order, in which corner of the shop on different moon phases. Fortunately I didn't screw it up and everything came out great. The sender claimed to have had some difficulty in building a good gift, to that I give two thumbs up. It was great! I'll have to find something deserving to veneer with the curly ash, and have a bunch of poplar veneer to practice with the hammer. Thank You!


Saturday, January 12, 2013

A Model of the Dutch Tool Chest

It's been two months since I've posted anything. There's been a lot going on and white a few different projects in various stages. One I'm excited to post about (but not doing it now) are some picture frames made for antique prints. Others soon to come.


After working on the Lap Desk a little bit more, and cutting a small built-up moulding, I had the itch to work more, but didn't want to make any more mess to clean. I got to thinking about CAD and the Dutch Tool Cabinet that Chris Schwarz has been building and started on a model. I'm sort of over it at the moment, all of the hard points have been drawn, the tills, battens and detailing of the T&G back and hinges aren't in the model. But those are details. It has all the information you would need to start building or add your own details.

I didn't know exactly what size Chris's was, so I guessed working to some arbitrary proportions, I have a feeling at 30" long, 16" wide and 35" tall without the casters is quite a bit bigger than his original, but this would fit about all of my tools I think.

This may actually be something I want to build, I've got a really old chest now, and it's footprint is huge. I like the idea of going vertically. and adding some casters to roll it around with.

The last thing that got me really excited with this is Google Drive. Now I can upload any type of file and link directly to it, if you follow the link in the image, you won't see anything, but you should be able to download and open the SketchUp file.