I've been dreadfully late posting this series of photos. These are the things that my anonymous-blog-reading-neanderfriend sent to me for the holidays.
First the tools, one is a nice old 5/12 Marples gouge. This one fits in really well with the lettercarving tools I've not yet picked up. While some look at this as one less tool to buy, it's one more tool I don't have to buy so I can spend that savings on a different other tool :). Above it is a veneer hammer (yes, I still have yet to handle the one I started an eon ago, but I know exactly where it is). It's Claro Walnut, with a yardboxwood handle shaped from a branch, ebony wedge and brass fittings.
Another shot from the front. It's nicely made, the head is heavy and I can see the advantage the heavy heat-sucking brass will have in veneering. The handle is anything but regular in radial section, the mortise must have been fun to fit!
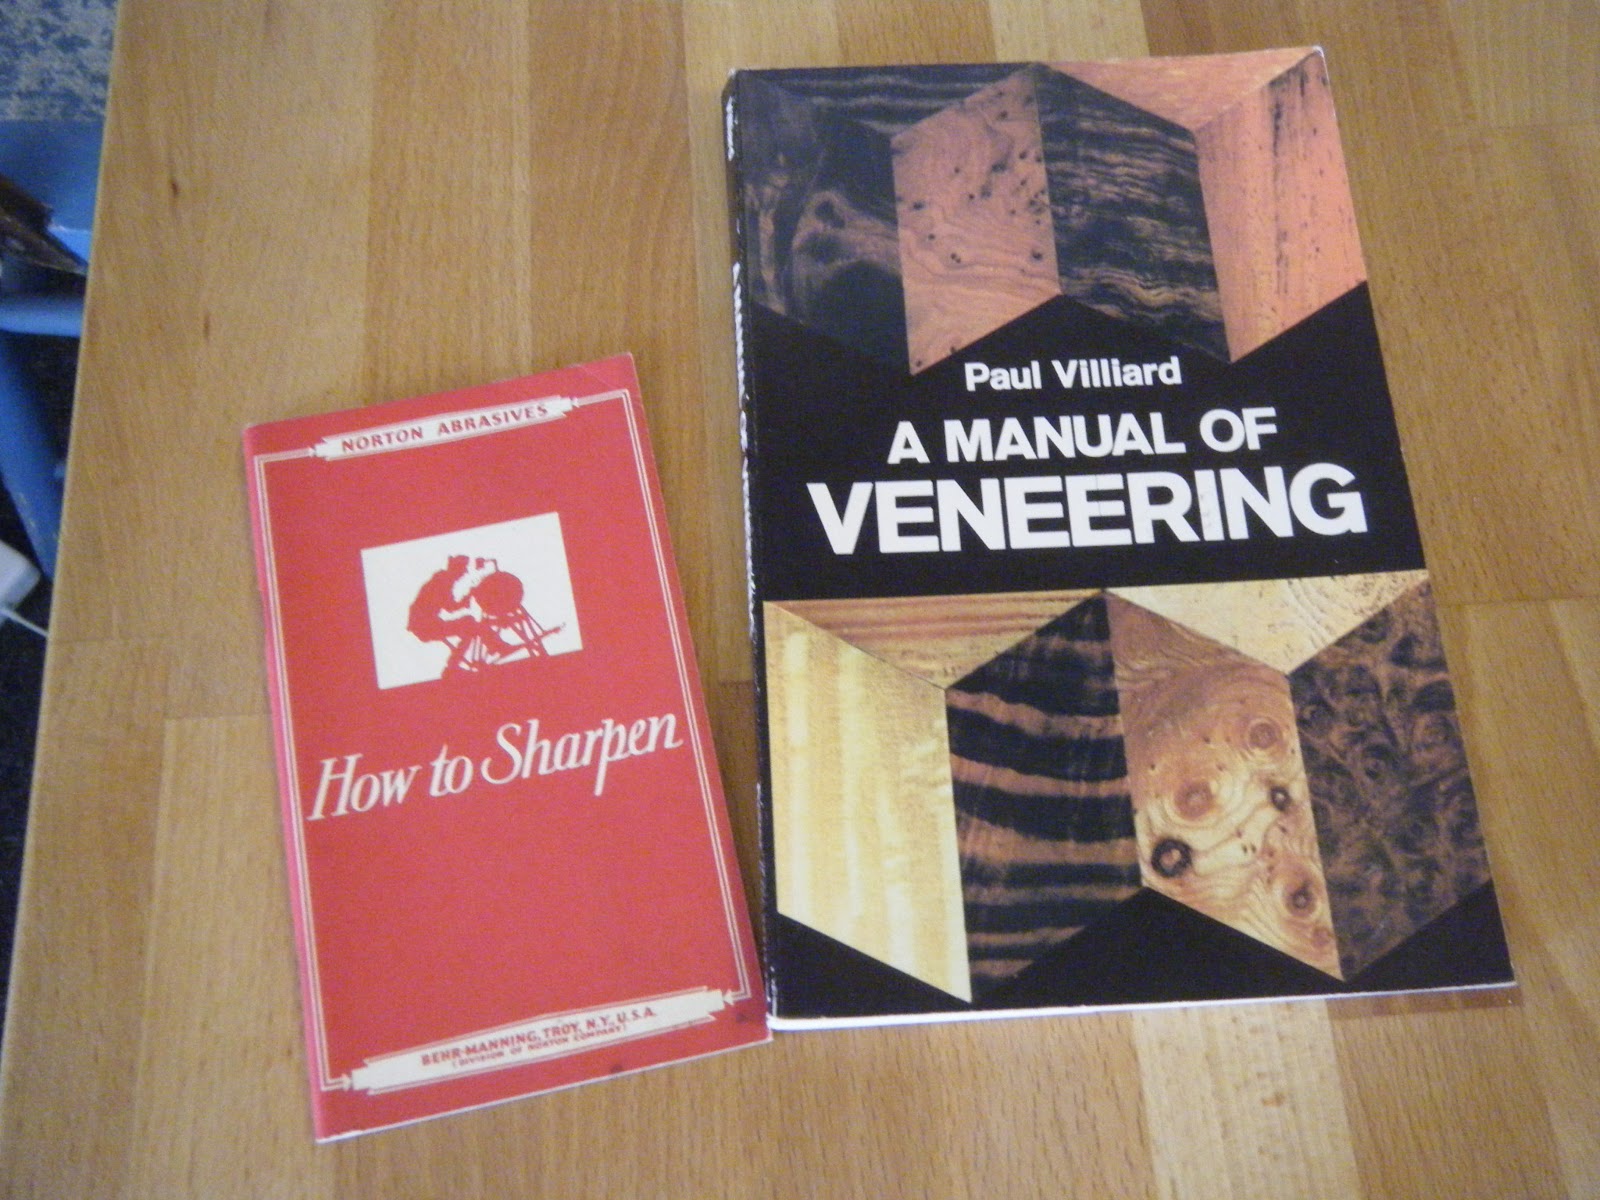
Two books, one on veneering which is supposed to be quite technical, I haven't read through it yet, so I'm interested to see what's in there. The second is an adorable format
Norton book on sharpening. This is another great one as I've been looking for something to make sense out of the oilstones and slips I've gotten for moulding planes and gouges.
Finally, and I was told to wait on this, we have the prize of the parcel I think. Two bookmatched shop sawn pieces of curly ash. The chatoyance is a spectacle. I've tried, with marginal success to display this in the sun. It's stunning stuff. The kind of wood that sits on your self for ages until you find just the right thing to use it on. I'm open to suggestions as I have no idea at the moment.
There was also a letter explaining all the different items, and strict instructions on what to open, in what order, in which corner of the shop on different moon phases. Fortunately I didn't screw it up and everything came out great. The sender claimed to have had some difficulty in building a good gift, to that I give two thumbs up. It was great! I'll have to find something deserving to veneer with the curly ash, and have a bunch of poplar veneer to practice with the hammer. Thank You!