I've been dreadfully late posting this series of photos. These are the things that my anonymous-blog-reading-neanderfriend sent to me for the holidays.
First the tools, one is a nice old 5/12 Marples gouge. This one fits in really well with the lettercarving tools I've not yet picked up. While some look at this as one less tool to buy, it's one more tool I don't have to buy so I can spend that savings on a different other tool :). Above it is a veneer hammer (yes, I still have yet to handle the one I started an eon ago, but I know exactly where it is). It's Claro Walnut, with a yardboxwood handle shaped from a branch, ebony wedge and brass fittings.
Another shot from the front. It's nicely made, the head is heavy and I can see the advantage the heavy heat-sucking brass will have in veneering. The handle is anything but regular in radial section, the mortise must have been fun to fit!
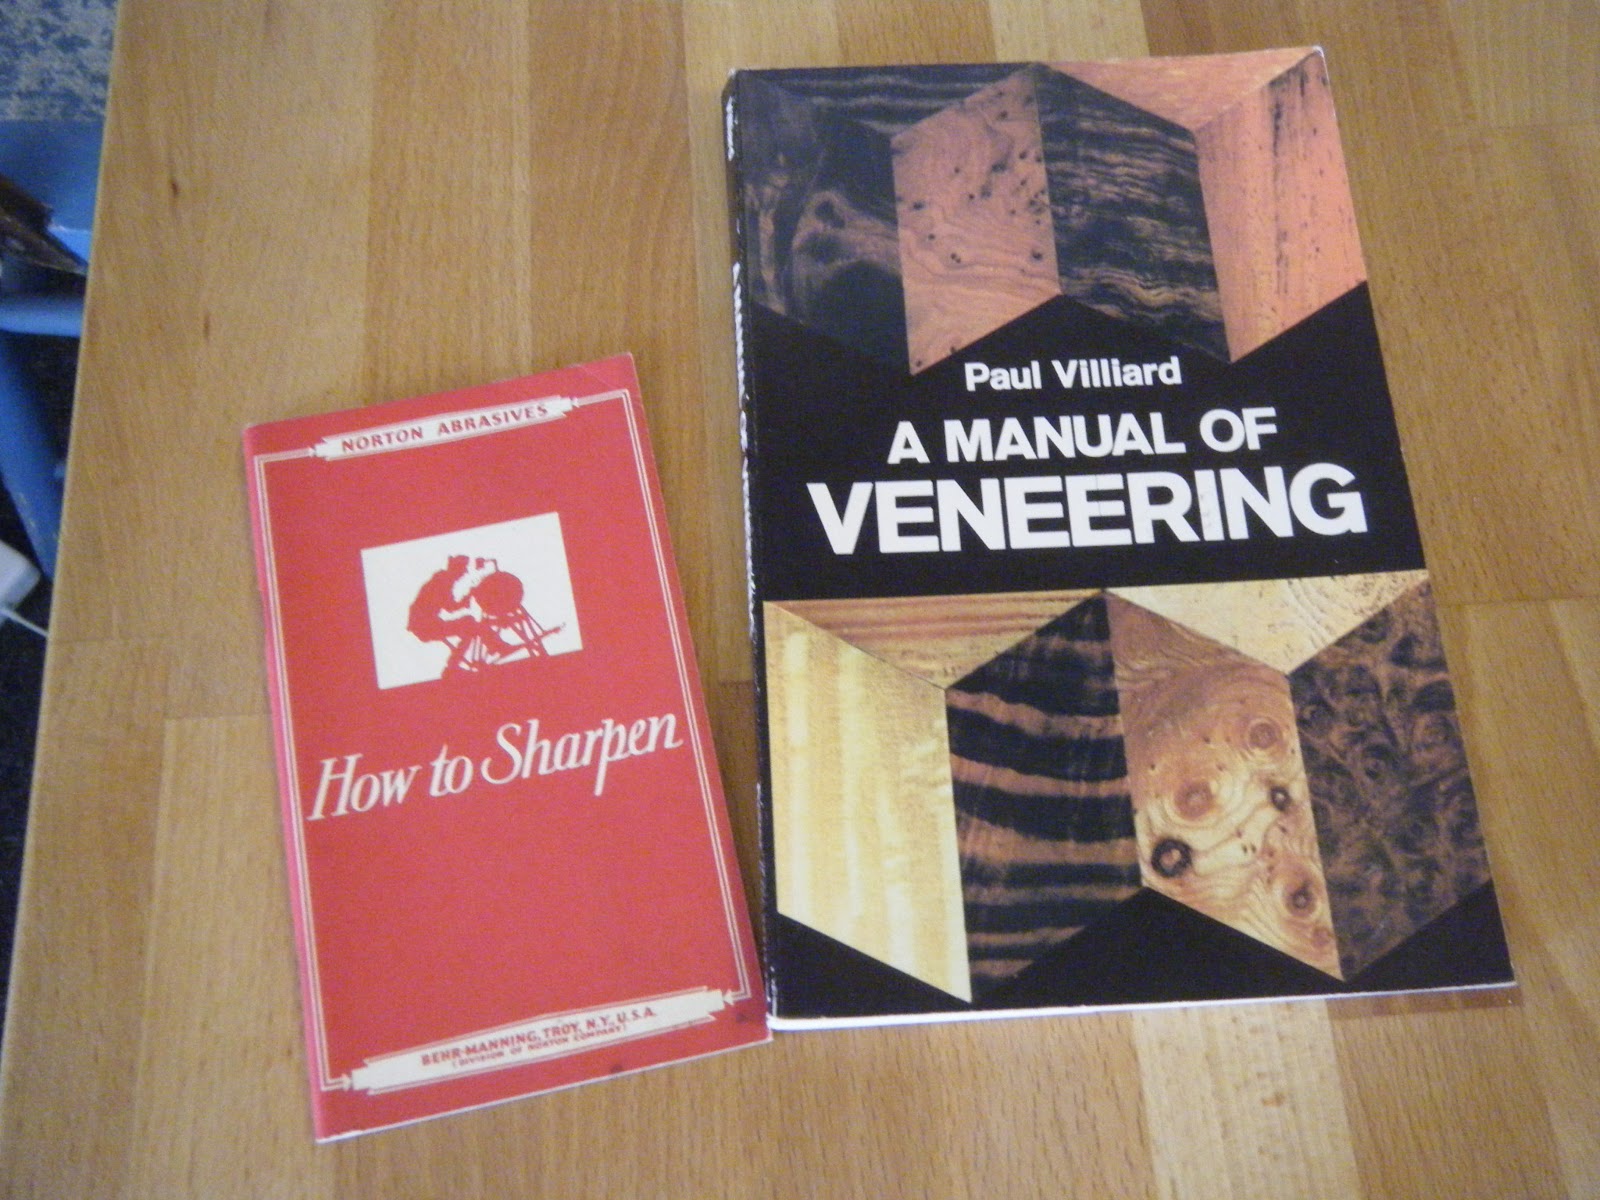
Two books, one on veneering which is supposed to be quite technical, I haven't read through it yet, so I'm interested to see what's in there. The second is an adorable format Norton book on sharpening. This is another great one as I've been looking for something to make sense out of the oilstones and slips I've gotten for moulding planes and gouges.
Finally, and I was told to wait on this, we have the prize of the parcel I think. Two bookmatched shop sawn pieces of curly ash. The chatoyance is a spectacle. I've tried, with marginal success to display this in the sun. It's stunning stuff. The kind of wood that sits on your self for ages until you find just the right thing to use it on. I'm open to suggestions as I have no idea at the moment.
There was also a letter explaining all the different items, and strict instructions on what to open, in what order, in which corner of the shop on different moon phases. Fortunately I didn't screw it up and everything came out great. The sender claimed to have had some difficulty in building a good gift, to that I give two thumbs up. It was great! I'll have to find something deserving to veneer with the curly ash, and have a bunch of poplar veneer to practice with the hammer. Thank You!
A collection of musings from an simple living, agrarian desiring, craftsman living in the city of Philadelphia.
Tuesday, January 29, 2013
Saturday, January 12, 2013
A Model of the Dutch Tool Chest
It's been two months since I've posted anything. There's been a lot going on and white a few different projects in various stages. One I'm excited to post about (but not doing it now) are some picture frames made for antique prints. Others soon to come.
After working on the Lap Desk a little bit more, and cutting a small built-up moulding, I had the itch to work more, but didn't want to make any more mess to clean. I got to thinking about CAD and the Dutch Tool Cabinet that Chris Schwarz has been building and started on a model. I'm sort of over it at the moment, all of the hard points have been drawn, the tills, battens and detailing of the T&G back and hinges aren't in the model. But those are details. It has all the information you would need to start building or add your own details.
I didn't know exactly what size Chris's was, so I guessed working to some arbitrary proportions, I have a feeling at 30" long, 16" wide and 35" tall without the casters is quite a bit bigger than his original, but this would fit about all of my tools I think.
This may actually be something I want to build, I've got a really old chest now, and it's footprint is huge. I like the idea of going vertically. and adding some casters to roll it around with.
The last thing that got me really excited with this is Google Drive. Now I can upload any type of file and link directly to it, if you follow the link in the image, you won't see anything, but you should be able to download and open the SketchUp file.
After working on the Lap Desk a little bit more, and cutting a small built-up moulding, I had the itch to work more, but didn't want to make any more mess to clean. I got to thinking about CAD and the Dutch Tool Cabinet that Chris Schwarz has been building and started on a model. I'm sort of over it at the moment, all of the hard points have been drawn, the tills, battens and detailing of the T&G back and hinges aren't in the model. But those are details. It has all the information you would need to start building or add your own details.
I didn't know exactly what size Chris's was, so I guessed working to some arbitrary proportions, I have a feeling at 30" long, 16" wide and 35" tall without the casters is quite a bit bigger than his original, but this would fit about all of my tools I think.
This may actually be something I want to build, I've got a really old chest now, and it's footprint is huge. I like the idea of going vertically. and adding some casters to roll it around with.
The last thing that got me really excited with this is Google Drive. Now I can upload any type of file and link directly to it, if you follow the link in the image, you won't see anything, but you should be able to download and open the SketchUp file.
Wednesday, November 7, 2012
Nuts
Finished the tap, I didn't even harden the cutter, I was so excited to try it out. It worked pretty well for the first go around. I do want to deepen the cheep removal flute and work in a different wood for the nut, but I'd rate the attempt as a win.
The long grain cut very well, but the side grain didn't cut as well. Still looks completely serviceable though. This leads me to believe that the commercial versions are cut with a rotary cutter or CNC machine. Which is where I'll be directing my focus next.
Detail of cutter and clamping mechanism. it's a 3/8-16NC bolt cut down and slotted.
Overall tap.
And the jig nut, I was skeptical about using aluminum plate for the strips, but they worked just fine.
The long grain cut very well, but the side grain didn't cut as well. Still looks completely serviceable though. This leads me to believe that the commercial versions are cut with a rotary cutter or CNC machine. Which is where I'll be directing my focus next.
Detail of cutter and clamping mechanism. it's a 3/8-16NC bolt cut down and slotted.
Overall tap.
And the jig nut, I was skeptical about using aluminum plate for the strips, but they worked just fine.
Wednesday, October 31, 2012
Wooden Vise Screws
Big wooden screws have always been something I've wanted to make. I'm
finally getting a start on some of the tooling for the project.
Overview of a slew of threadcutting things. And a kitchen knife in the "to sharpen" pile.
First object is an old hand screwbox, you can tell it's old because the screws are square ended. The tap isn't a match so I'll probably steal the cutter from this piece and use it in a dedicated one built for that tap.
Here is the tap I'm in the process of making for bench screws, also notice the failed soft maple nut blank in the back. The kerf is not nearly as irregular as the picture makes it appear, but I'm hoping the irregularity you do see isn't a big deal. Unfortunately Ze won't know how well (poorly?) that works until I've finished the tap, made the nut and put the whole shebang together. Cross your fingers.
Second thing I want to talk about in this photo, the nut blank. Have you ever used an expansion bit in a brace, in soft maple? It's hard. The bit started moving around and the hole shape has been getting more and more erratic. I just bought two forstner bits for the major and minor diameters and will redo the "die" and nut blanks.
If the tap doesn't work out, I've started working on a change gear operated screw cutting machine. It's virtually the same as a metal lathe, only the toolpost will hold a router traversed with a hand cranked leadscrew. It's a significant investment, and would probably mean I get into the big wooden vise game, but I could also do any variety of screws, I'd love to make large 4" diameter 1 TPI cider press screws and other large screws. I wonder if the other screw guys got into it this way?
Here is the picture of the screw, I'm intending to make. There may not be a post on this for a while, I should really get back to the side tables, the chairs or any one of several other things I've already physically started.
Overview of a slew of threadcutting things. And a kitchen knife in the "to sharpen" pile.
First object is an old hand screwbox, you can tell it's old because the screws are square ended. The tap isn't a match so I'll probably steal the cutter from this piece and use it in a dedicated one built for that tap.
Here is the tap I'm in the process of making for bench screws, also notice the failed soft maple nut blank in the back. The kerf is not nearly as irregular as the picture makes it appear, but I'm hoping the irregularity you do see isn't a big deal. Unfortunately Ze won't know how well (poorly?) that works until I've finished the tap, made the nut and put the whole shebang together. Cross your fingers.
Second thing I want to talk about in this photo, the nut blank. Have you ever used an expansion bit in a brace, in soft maple? It's hard. The bit started moving around and the hole shape has been getting more and more erratic. I just bought two forstner bits for the major and minor diameters and will redo the "die" and nut blanks.
If the tap doesn't work out, I've started working on a change gear operated screw cutting machine. It's virtually the same as a metal lathe, only the toolpost will hold a router traversed with a hand cranked leadscrew. It's a significant investment, and would probably mean I get into the big wooden vise game, but I could also do any variety of screws, I'd love to make large 4" diameter 1 TPI cider press screws and other large screws. I wonder if the other screw guys got into it this way?
Here is the picture of the screw, I'm intending to make. There may not be a post on this for a while, I should really get back to the side tables, the chairs or any one of several other things I've already physically started.
Monday, October 22, 2012
Mucking about in Hyperspace
Not all of us have a Heart of Gold, so sometimes when a problem presents itself, we just have to grumble (thank my puppy for that) and keep bashing our head against a wall until we get it or pass out.
Yesterday I reinstalled SketchUp and attempted to figure out why a certain group of plugins wouldn't load. It was pretty annoying, but I eventually figured out I was missing a whole bunch of other files that allowed the others to work.
Now I can make lofts and fillets with remarkable ease.
Here's what I wanted to model, well the handle anyway. It's from the esteemed George Wilson, he does amazing things, I hope one day to be a fraction of the craftsman this guy is, and every bit as tool pig.
Here is my work, it's getting there. I still need to figure out how to manipulate the profile it lofts with so I can make it form tangencies where I want and the right shapes over the loft. But it's a start. I;m hoping it's easier to figure out, otherwise I'm going to ditch a program I'd love to use for PencilPaper, a program I'm really good at.
Here is the first project, three jaw pin vises in bloodwood and padauk, chucks from Lee Valley and brass ferrules cut from 1/2" tubing. I'm trying to really get on top of this idea I had, when I go to make a tool, make two and list one in the Shop.
One is all fit up and for sale, the other needs a little more work to get together.
Here is the other part of the project, a seven piece miniature nut driver set and a 10 piece needle file set. I'm particularly excited for the needle files. Maybe I'll do them in Cuban Mahogany? Thoughts?
Yesterday I reinstalled SketchUp and attempted to figure out why a certain group of plugins wouldn't load. It was pretty annoying, but I eventually figured out I was missing a whole bunch of other files that allowed the others to work.
Now I can make lofts and fillets with remarkable ease.
Here's what I wanted to model, well the handle anyway. It's from the esteemed George Wilson, he does amazing things, I hope one day to be a fraction of the craftsman this guy is, and every bit as tool pig.
Here is my work, it's getting there. I still need to figure out how to manipulate the profile it lofts with so I can make it form tangencies where I want and the right shapes over the loft. But it's a start. I;m hoping it's easier to figure out, otherwise I'm going to ditch a program I'd love to use for PencilPaper, a program I'm really good at.
Here is the first project, three jaw pin vises in bloodwood and padauk, chucks from Lee Valley and brass ferrules cut from 1/2" tubing. I'm trying to really get on top of this idea I had, when I go to make a tool, make two and list one in the Shop.
One is all fit up and for sale, the other needs a little more work to get together.
Here is the other part of the project, a seven piece miniature nut driver set and a 10 piece needle file set. I'm particularly excited for the needle files. Maybe I'll do them in Cuban Mahogany? Thoughts?
Sunday, August 26, 2012
The Planemaker's Workshop
Today I ran into exactly the kind of thing that makes me interested in planemaking, I'm building rather large bookcases into the main room of one of my co-worker's houses, everything is pretty much done except for the final paint, and one piece of moulding on the top of the baseboard. I tried a few different things, but short of buying a moulding head for the tablesaw and grinding custom knives there's no way for me to make this profile accurately with power tools.
So I met with my clients and we all agreed that it would be best to wait until I've got my hollows and rounds finished so that an accurate reproduction can be made. Until I finish the four or so planes I need to make this moulding, consider me a full part-time planemaker.
Layout phase for the roughed out blanks, in this case done while watching Law and Order (favorite all time cop show). Bed, breast, mouth, mortice, sole width and wedge lead are drawn on in all necessary places.
On SMC I posted a little writeup on the remanufacture of this once warped and ironless Summers Varvill #6 Round into a #6 hollow for my quarter set.
Blind side.
Sole
This is my layout block for sawing bed and breast angles, I hate it, works fine, but I've realised that Larry Williams' has a strip attached to the bottom overhanging both sides, so it can be flipped to any orientation for sawing. I need to rip it off and attach a steel or brass sole to it.
Time to get off my ass and get back to work. I have a lot of mouths to feed.
So I met with my clients and we all agreed that it would be best to wait until I've got my hollows and rounds finished so that an accurate reproduction can be made. Until I finish the four or so planes I need to make this moulding, consider me a full part-time planemaker.
Layout phase for the roughed out blanks, in this case done while watching Law and Order (favorite all time cop show). Bed, breast, mouth, mortice, sole width and wedge lead are drawn on in all necessary places.
Two pitch boards for layout of plane length, pitch and in some cases escapement. There's also a wedge template, used for checking an in-progress mortice as well as laying out finials. I use one Tablesaw/shooting jig to cut all wedges so there is never variation.
On SMC I posted a little writeup on the remanufacture of this once warped and ironless Summers Varvill #6 Round into a #6 hollow for my quarter set.
Blind side.
Sole
This is my layout block for sawing bed and breast angles, I hate it, works fine, but I've realised that Larry Williams' has a strip attached to the bottom overhanging both sides, so it can be flipped to any orientation for sawing. I need to rip it off and attach a steel or brass sole to it.
Time to get off my ass and get back to work. I have a lot of mouths to feed.
Wednesday, August 22, 2012
Finished V-Plane
Late last night, I finished sharpening and tuning the V-Plane I wrote about last time. I was too dark to get good photos though so I had to wait until now.
Vintage iron salvaged from a beat up 7/8" skew rabbet.
Looking for fairly even projection here, it looks massive, the majority of this is due to the mouth geometry, the arris of the iron is really tight, but the farther the two edge get from the point the bigger the mouth. That's okay, this plane is for hogging wood out of a moulding.
Sample cut, this plane is awesome, it hugs a gauge line and starts a profile similar to a snipes bill, but with a much easier to sharpen iron. Only downside is control over the fillet, it will be 45 degrees, depending on the moulding that may not matter or it might even be preferable.
As a side note, Mouldings in Practice was an awesome book. I read it in one sitting the moment it arrived. Now I need to build a proper sticking board, grind and iron for a number 6 hollow I re-manufactured, and finish some other planes I'm building to work on some picture frames. Stay tuned.
Vintage iron salvaged from a beat up 7/8" skew rabbet.
Looking for fairly even projection here, it looks massive, the majority of this is due to the mouth geometry, the arris of the iron is really tight, but the farther the two edge get from the point the bigger the mouth. That's okay, this plane is for hogging wood out of a moulding.
Sample cut, this plane is awesome, it hugs a gauge line and starts a profile similar to a snipes bill, but with a much easier to sharpen iron. Only downside is control over the fillet, it will be 45 degrees, depending on the moulding that may not matter or it might even be preferable.
As a side note, Mouldings in Practice was an awesome book. I read it in one sitting the moment it arrived. Now I need to build a proper sticking board, grind and iron for a number 6 hollow I re-manufactured, and finish some other planes I'm building to work on some picture frames. Stay tuned.
Subscribe to:
Posts (Atom)


