I started by patching a gap that opened up in the front, right of the bottom board. Here the glue is setting and I'm trimming the patch flush.

I've modified Mario's original plan, by doing bracket feet on all corners. The plain ogee shape was replaced with what I think would be called a cove-fillet-bead in some naming traditions.
 Though it looks like I'm hiding. I'm actually aligning the spacer blocks to ensure the till bottom seats level with the case.
 Taking a very accurate measurement for the drawer front, these need to be tight to begin with, so sizing them correctly in the beginning is important.
  Careful measuring paid off, the fronts fit nicely and the presence of the chest looks great to me. I'm really into the oval pulls which I'll write about in a separate post.
 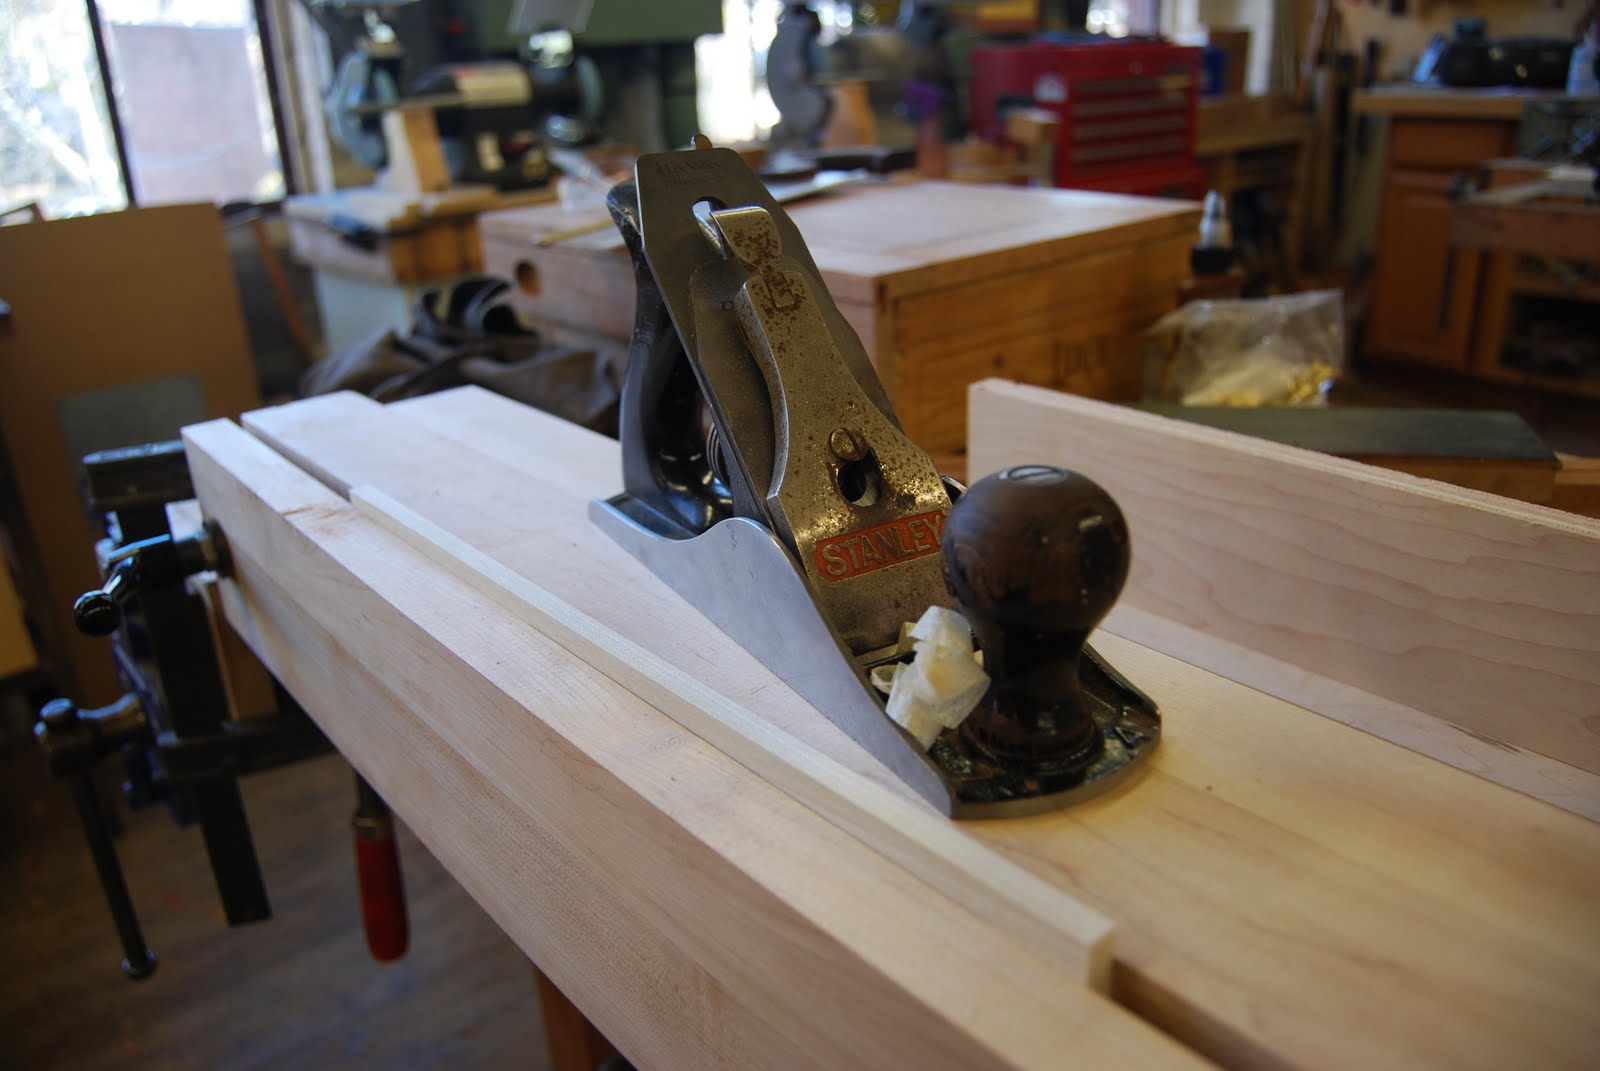 After the fronts have been set into the case, the next step is to orient the grain direction on the sides then mark and trim them to fit their respective openings. The plane here is a Stanley Bailey #4, I just had it surface ground by Tablesaw Tom, and I'm amazed. It looks, and functions like a NIB premium plane. Now I need to spend some time rehabbing the wood and fasteners on it. Give Tom a look, his prices are reasonable and his work is top notch.
Mario is a huge fan of dovetail templates, they certainly have appeal, but I'm still unsure if I like the method for everything. I'm using his here to mark out the side material so that I can gang saw the tails for the drawers. I'll get the work done faster this way, and the dovetails will be identical for both drawers. Two big pluses in my book.
 There's that Veritas Gent's Saw again, the fine teeth has some trouble in the 1 1/4" of drawer stock, I should have used a carcass saw instead.
  Fret sawing the waste.
 After gang sawing the front and back tails (didn't I mention these were to be fully dovetailed drawers?) the sides are put into their respective openings. I still managed to mess one up forcing me to ditch that side and re-cut a new one.
 Setup for pairing the baselines, the drawer sides are 5/16" thick and measure 2 5/8" wide.
 Pairing the baselines with a James Swan 1/8" (possibly sash mortise chisel) it is very finely ground and very sharp. It's my favorite piece of steel in all of PFW, they will not part with it though. I tried, so if you've got one message me. This thing falls through the little bit of poplar remaining in the tails.
 Marked out for the half blind pins.
 That looks like a drawer doesn't it? I was very proud at this point. I had a few fit just off the saw too. I'm hooked on drawer making, it's a little fussy but really rewarding.
The next few shots are of the disassembled drawer, just prior to gluing.


 I finished the first drawer at around 5:30pm or so. I finished the second drawer at about 8pm and then banged out this little sliding tray for one of the drawers. What a long day, but I can honestly say I feel really accomplished. I'm very inspired to work right now, resisting the urge to keep working was hard. The voice in the back of my head said "You finished the task you set out to this morning, go home and don't risk screwing anything up." I've never worked a 12 hour day on such work before, but it wasn't arduous at all, I loved it.