I also got materials to solder up the hasp, but I'm still working on the design. In the hasp drawing I think it's a bit too wide, and perhaps the slot is too far down.


 Here is one of the legs, primed and painted with the undercoat. I couldn't wait to see how the paint showed up. Right now I'm laboring through the morti, 8 2" deep 4" long and 1/2" wide holes are big, I'm just using a huge mortising chisel, instead of boring and paring.

 Half of my morning was spent going through several different photos of seat shapes and drafting out one that looked good. The sight lines are my best guess so far based on examples I've seen. I still have to come up with the final angles along those lines though. The blank is a glue up from 8/4 poplar. The board I bought was a bit too narrow, I wound up having to glue a 2x2 turning blank and a piece of 4/4 to get the seat depth needed. This may wind up looking like dog meat, but it should do well as practice.
 A shot of the seat with all the sight lines. I'm sorely tempted to buy the LV tapered reamer, though I'll have to build a tapered tenon cutter as the small diameter for the leg joint will be 7/8".
 We've finally gotten to painting this cabinet. We're using The Old Fashioned Milk Paint Company's Tavern Green, with a top coat of boiled linseed oil. This paint is awesome. Unlike modern paints it doesn't smell like chemicals (it has a pleasant lime/earthy smell) or have VOCs, it's completely friendly and cleans up easily. That alone makes it a great product for our uses because we do the finishing in our living room.
 This is the paint partly dry, that's why it looks so streaky, in actuality there is still some streaking and the texture of the wood shows through, but that's another reason why we like it. Milk paint has character that a latex paint glosses over.
 And here's a color shot so you can see what color I'm actually talking about. We installed the door and oiled it, it might need another coat of oil. The top is going to be soft maple, which I have to pick up when I get the lumber for the dining table. I'll post another update with the finished piece soon I hope.
 It's by no means perfect, but I'm surprised at the fit for my first completely fitted wedge. I have a long way to go though, I took apart a 1/4" dado plane last night, one with a wooden friction fit depth stop. It's an amazing piece of work, the stop itself is perfectly square and parallel in all four sides and the mortise is equally well made. I expected the mortise to be undercut, and it wasn't. I hope to be that skillful one day.


 And we clamped the legs on to get an idea of the piece. I've been contemplating different ways of attaching the top, I think I'll glue corner blocks where the sides and legs meet and screw through those. There will be a small amount of cross grain glueing going on, but I don't think it will be an issue, only 1 1/2 inches or so at either end will be cross glued.


 Showing us a rough mock up of the piece.
 Now one with the back boards. There is a hodge-podge of woods in this thing. White Pine (I believe) for the sides and shelves, poplar for the door and two of three back panels and some Radiata Pine for the legs. April is largely the stylistic director of this piece (I'm offering the technical support) and plans to go with a two-tone cream over green milk paint job, which I think will look awesome. I think a wash of shellac (Krenov calls it polish) would do well on the shelves to make for easier cleaning.


 This is half, by the way. Any guesses yet?
 First up is the French pattern veneer saw I built using some scrap beech and old sawplate. it's filed with the 15/60-60 tooth configuration that Gramercy Tools has on their veneer saw. I'm sort of amazed at how quickly and cleanly it cuts.

 The last photo is a sample I did to test the methods I was reading about. It is a piece of rift pine, cross banded in poplar then veneered with holly and padauk with a taped joint. I goofed and tried planing it when it was dry, the padauk tore out hideously on the reverse side. It actually ripped up a whole chunk, which frustrates me, this was going to be a wonderful little sample. Oh well.


 I also did a bit of rearranging, there is loads more space in the work room now. Even more space will show itself when I build a lumber rack next weekend. The wood under the bench needs to go.
 And another one cleaned of tools.


 Though it looks like I'm hiding. I'm actually aligning the spacer blocks to ensure the till bottom seats level with the case.
 Taking a very accurate measurement for the drawer front, these need to be tight to begin with, so sizing them correctly in the beginning is important.
  Careful measuring paid off, the fronts fit nicely and the presence of the chest looks great to me. I'm really into the oval pulls which I'll write about in a separate post.
 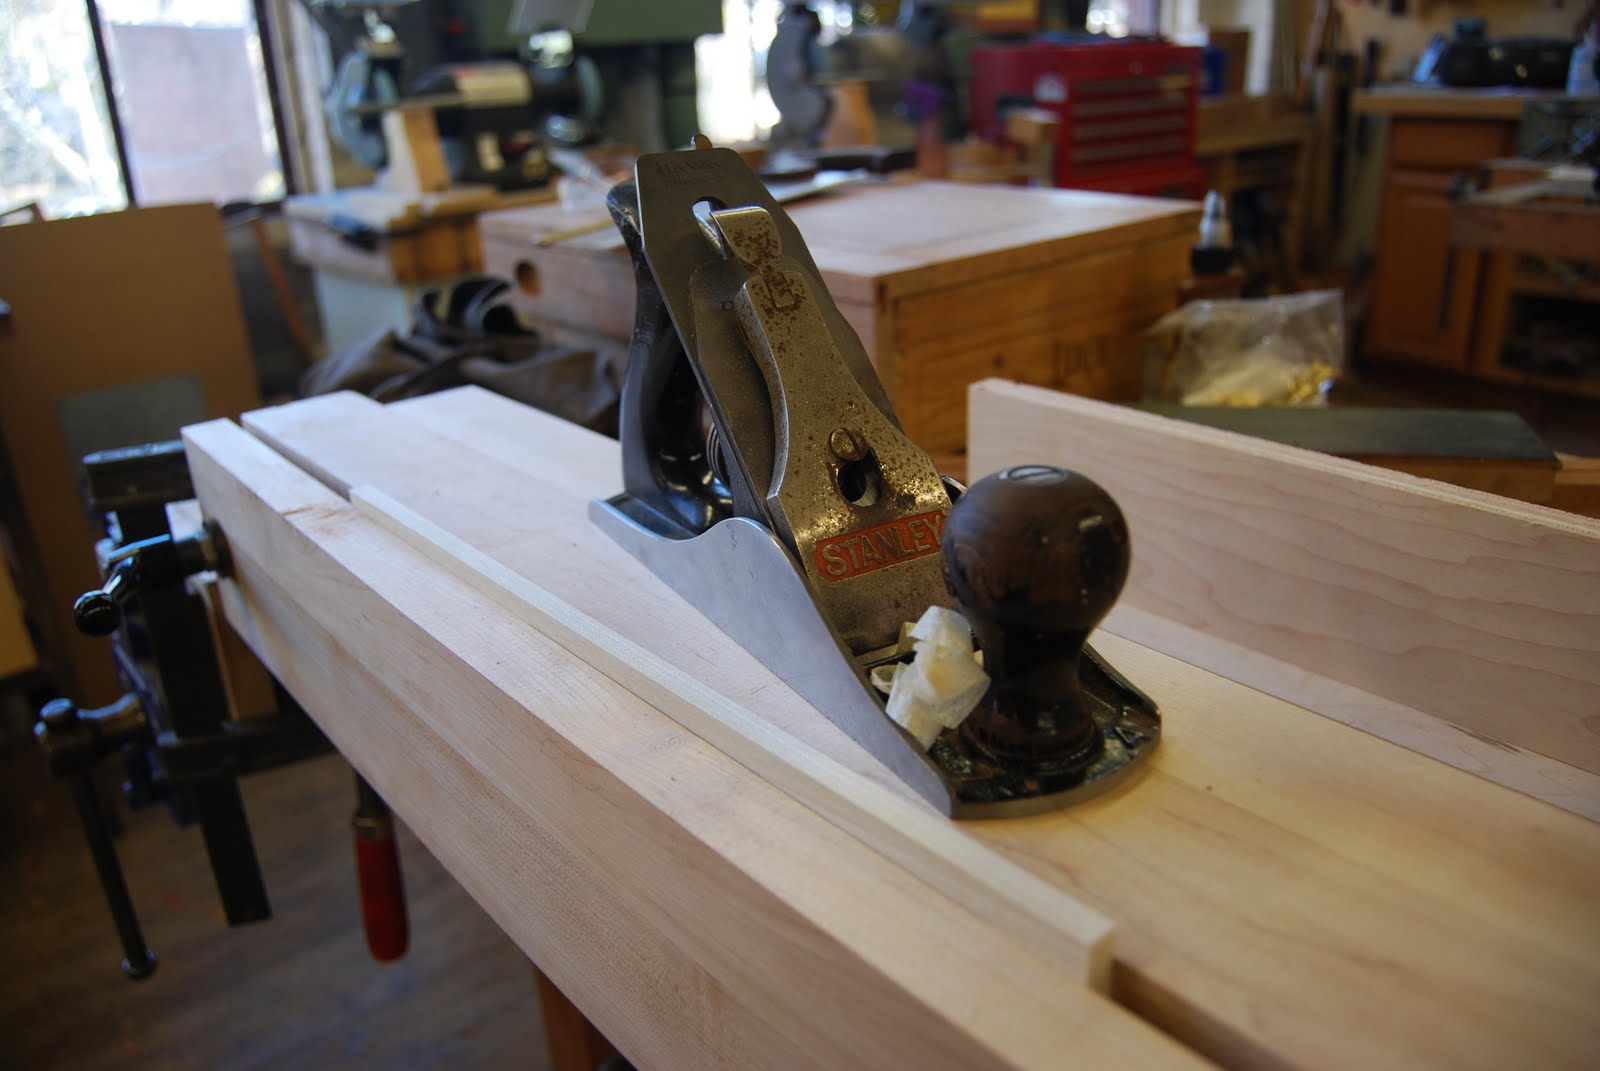 After the fronts have been set into the case, the next step is to orient the grain direction on the sides then mark and trim them to fit their respective openings. The plane here is a Stanley Bailey #4, I just had it surface ground by Tablesaw Tom, and I'm amazed. It looks, and functions like a NIB premium plane. Now I need to spend some time rehabbing the wood and fasteners on it. Give Tom a look, his prices are reasonable and his work is top notch.
 There's that Veritas Gent's Saw again, the fine teeth has some trouble in the 1 1/4" of drawer stock, I should have used a carcass saw instead.
  Fret sawing the waste.
 After gang sawing the front and back tails (didn't I mention these were to be fully dovetailed drawers?) the sides are put into their respective openings. I still managed to mess one up forcing me to ditch that side and re-cut a new one.
 Setup for pairing the baselines, the drawer sides are 5/16" thick and measure 2 5/8" wide.
 Pairing the baselines with a James Swan 1/8" (possibly sash mortise chisel) it is very finely ground and very sharp. It's my favorite piece of steel in all of PFW, they will not part with it though. I tried, so if you've got one message me. This thing falls through the little bit of poplar remaining in the tails.
 Marked out for the half blind pins.
 That looks like a drawer doesn't it? I was very proud at this point. I had a few fit just off the saw too. I'm hooked on drawer making, it's a little fussy but really rewarding.


 I finished the first drawer at around 5:30pm or so. I finished the second drawer at about 8pm and then banged out this little sliding tray for one of the drawers. What a long day, but I can honestly say I feel really accomplished. I'm very inspired to work right now, resisting the urge to keep working was hard. The voice in the back of my head said "You finished the task you set out to this morning, go home and don't risk screwing anything up." I've never worked a 12 hour day on such work before, but it wasn't arduous at all, I loved it.


